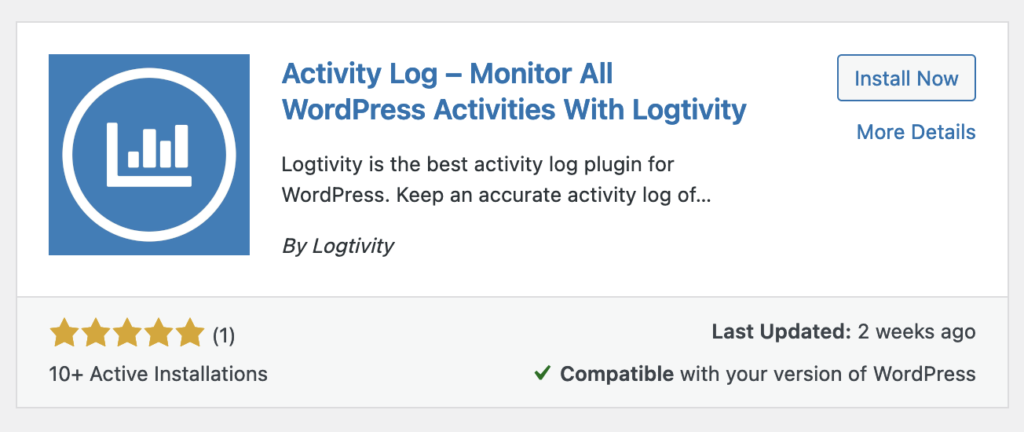
In this guide, we’ll show you the two steps to get your WordPress activity log started with Logtivity.
Step #1. Get your Logtivity API key
- Go to https://app.logtivity.io.
- Either create a new account or log in with an existing account.
- New users will see the screen below. Existing users will see an identical screen, but the title will say “Add Site”.

- After you click the “Add site” button, the next screen will show an API key. Make a copy of this key as you’ll need it in the second step.

Step #2. Install the Logtivity plugin and add your API key
Your next step is to add the Logtivity plugin to your WordPress site.
- Visit “Plugins” > “Add New”.
- Search for “Logtivity”.
- Activate the Logtivity plugin.

- Visit “Logtivity” in your WordPress admin menu, then “Settings”.
- Enter your Logtivity API key.
- Click “Update Settings”. You will see a green “Connected” message.

- Visit “Logtivity” in your WordPress admin menu.
- You will now be able see your site’s activity is being recorded, as in the image below.

- You can also visit the Logs section of the Logtivity app. Here you will see an expanded version of the logs, plus you’ll be able to set up Alerts and Notifications.
