What’s New at Logtivity in February?
Hey, and thanks for using Logtivity, the WordPress activity log.
This month, we’ve released a series of improvements to the Logtivity app and plugin. You’ll now find a new dashboard screen. Plus, you have the ability to create custom alerts for each site. It’s also possible to control access to each screen inside the Logtivity plugin.
Keep reading for an overview of what’s new for this month. If you missed last month’s updates, click here for a recap of what was added in January.
Table of Contents
New Dashboard Screen
When you log in to the Logtivity app, you’ll see a refreshed dashboard screen. This is the first screen you’ll see each time you log in. The new version of this dashboard shows extra information and new filters. Here’s a screenshot of the new dashboard:
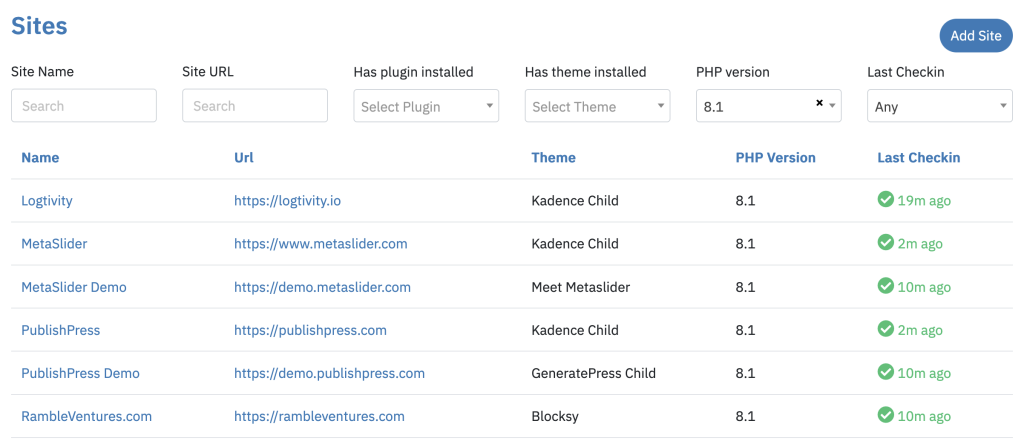
Across the top of the screen you can see new filters. These allow you to quickly find any site connected to Logtivity. One of the new filters is “Last Checkin”. This enables you to see when the last activity log was recorded for each site. If the site happens to become disconnected for any reason, that will show in this new column.
Per-Site Alerts
Logtivity has a feature called “Alerts” that allows you to receive notification for important data in your logs. Alerts can be sent to three Alert Channels: email, Slack, or webhooks.
It’s now possible to trigger those alerts for just one site. Are you having problems with a specific user? Do you see issues with one plugin on a specific site? You can now build per-site alerts to stay updated.
- In the Logtivity app, click Team Settings”.
- Click “Activity Alerts”.
- Edit an alert.
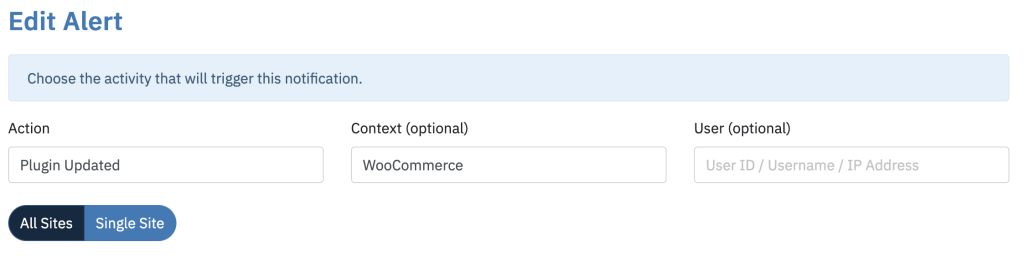
You will now see a new option for each alert. You can click on the “Single Site” option to trigger this alert only for one site. This is shown in the next screenshot.

Access Control in the Logtivity Plugin
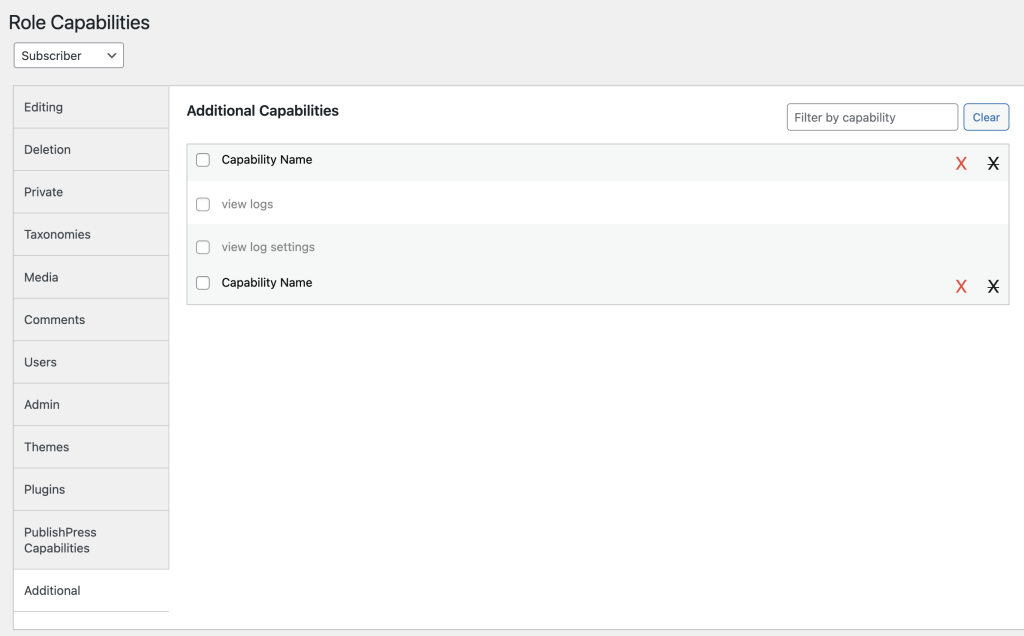
It is now possible to control access to the two main screens in the Logtivity plugin.
- view_logs: This controls access to the main “Logs” screen.
- view_log_settings: This controls access to the “Settings” screen.
You can grant these capabilities to different user roles with a plugin such as PublishPress Capabilities. Go to the “Capabilities” screen, click “Additional” and you will see the capabilities, as in this screenshot below: