How to Add Logtivity to a Multisite Network
One of the major benefits of Logtivity is that it can track all your WordPress sites from one dashboard. This applies to individual WordPress sites and also sites in a multisite network.
In this guide, I’ll show you how to quickly install Logtivity so that you can have an activity log for all the sites in your multisite network.
Table of Contents
Step #1. Get Your Team API Key
After registering for a Logtivity account, follow these steps:
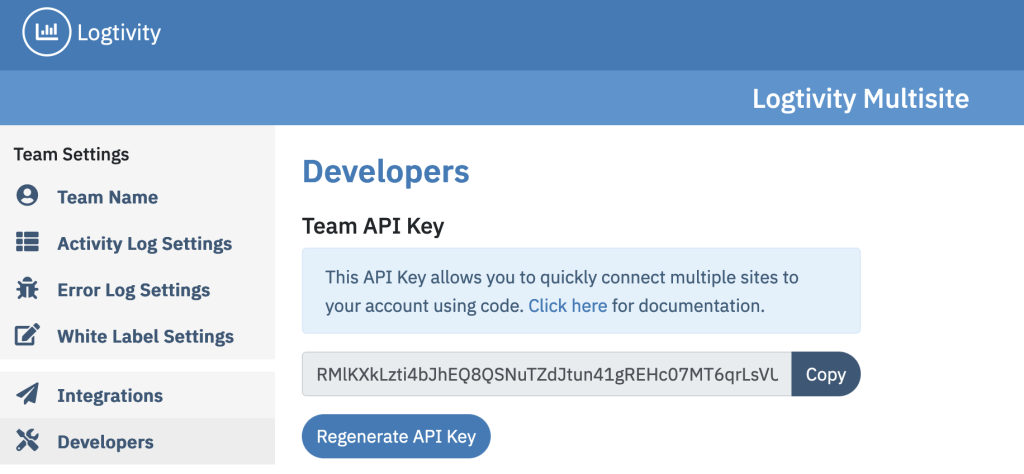
- Click the “Team Settings” link.
- Click the “Developers” menu link in the left sidebar.
- Copy the “Team API Key”. You can see this screenshot in the image below:

Step #2. Network Activate the Logtivity Plugin
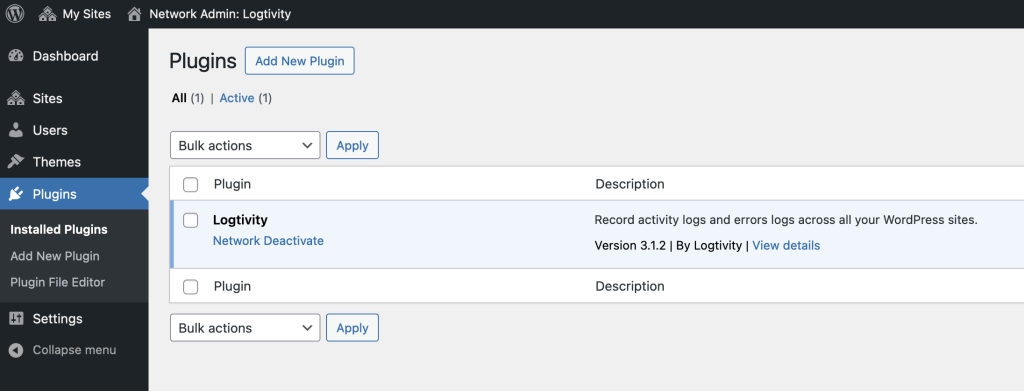
Next, we’re going to install the official Logtivity plugin for your multisite network.
- Go to the main site in your multisite network.
- Click the “Plugins” link and then the “Add New” button.
- Search for the Logtivity plugin. Install and activate the plugin across your network, as in this screenshot below:

Step #3. Add the Logtivity Code to Your Network
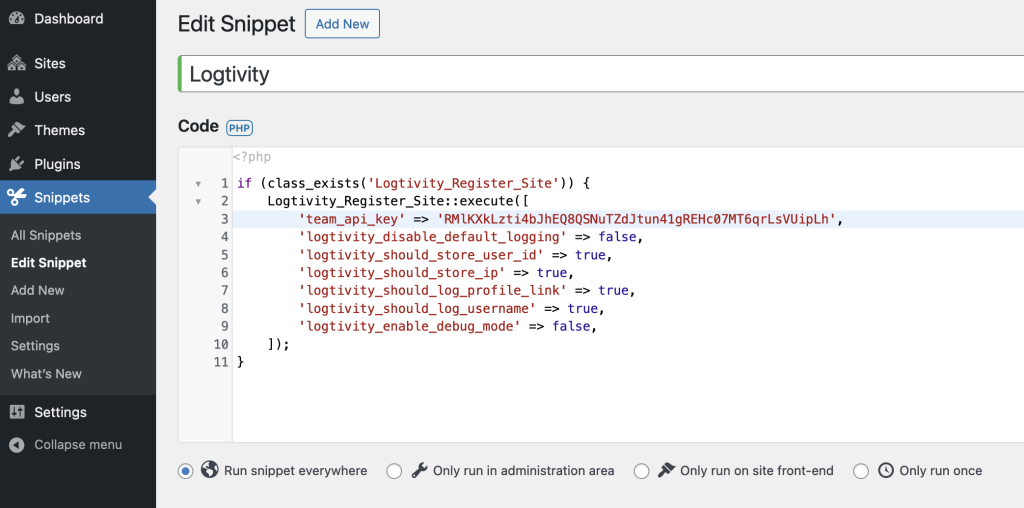
This code sample below can be used in a variety of ways. For example, you can add it to your theme’s functions.php file, or to a small custom plugin. You can also use the the “Code Snippets” plugin and other similar plugins, as we explain below. Just make sure to replace the third line with your Team API key:
if (class_exists('Logtivity_Register_Site')) {
	Logtivity_Register_Site::execute([
		'team_api_key' => 'ENTER_YOUR_TEAMS_API_KEY_HERE',
		'logtivity_disable_default_logging' => false,
		'logtivity_should_store_user_id' => true,
		'logtivity_should_store_ip' => true,
		'logtivity_should_log_profile_link' => true,
		'logtivity_should_log_username' => true,
		'logtivity_enable_debug_mode' => false,
	]);
}
Here are the steps to add this code to all your sites without doing any actual coding.
- Install the Code Snippets plugin.
- Go to “Snippets” and click the “Functions” tab.
- Click “Add New”, and insert your code as in the screenshot below.
- Check the box “Allow this snippet to be activated on individual sites on the network”.

This should automatically enable your sites to connect to Logtivity. If you don’t find your sites appearing on the Logtivity dashboard, try these two steps:
- Visit each website as a logged in user.
- Check the “Code Snippets” area on each site. Is the code snippet active for that site?
All Finished: Enjoy using Logtivity
Those three steps above should be all you need to use Logtivity for all the sites in your network.
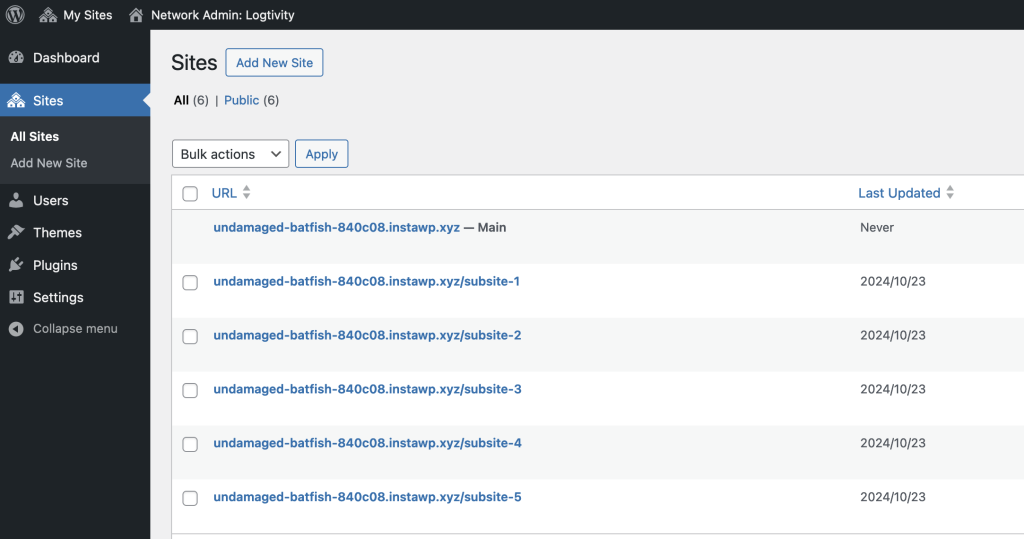
This screenshot below shows all 6 sites I have on the multisite network I used for this tutorial.

This final screenshot shows all those sites on the Logtivity dashboard. To add these sites, and any future sites in this network, I just had to follow the steps in this tutorial.

Video Guide to Sharing Logtivity Errors
Give Logtivity a try
Logtivity gives you one place to monitor changes and activity across all your WordPress sites, even if they are part of a multisite network.
We track everything that happens on the networked sites you manage. It’s all recorded in your Logtivity dashboard so you can search, filter, and manage all the activity logs.
Join Logtivity today and you’ll immediately get access to hosted activity logs, hosted error logs, and much more.
Logtivity helps WordPress agencies sleep well at night. Logtivity tracks all the activity on your WordPress sites, and then sends you alerts for important events!
